Venison often gets the reputation of being tough, dry, and gamey. We here at HUNTINGsmart! are here to tell you that this does not have to be the case! If you’re experiencing meat with an unpleasant taste or texture, it can often be traced back to the moments after the fatal shot. Did your shot not quite land, causing the deer to travel a great distance before succumbing? Did you take your time before starting the field dressing process? Both instances can be considered mistake one and two in field dressing a deer.
Whether you’re a newer deer hunter or an experienced one, knowing how to field dress a deer is an essential skill. We’re diving into field dressing with some tips that can benefit every deer hunter and venison eater, as well as highlighting a few common mistakes you might run into.
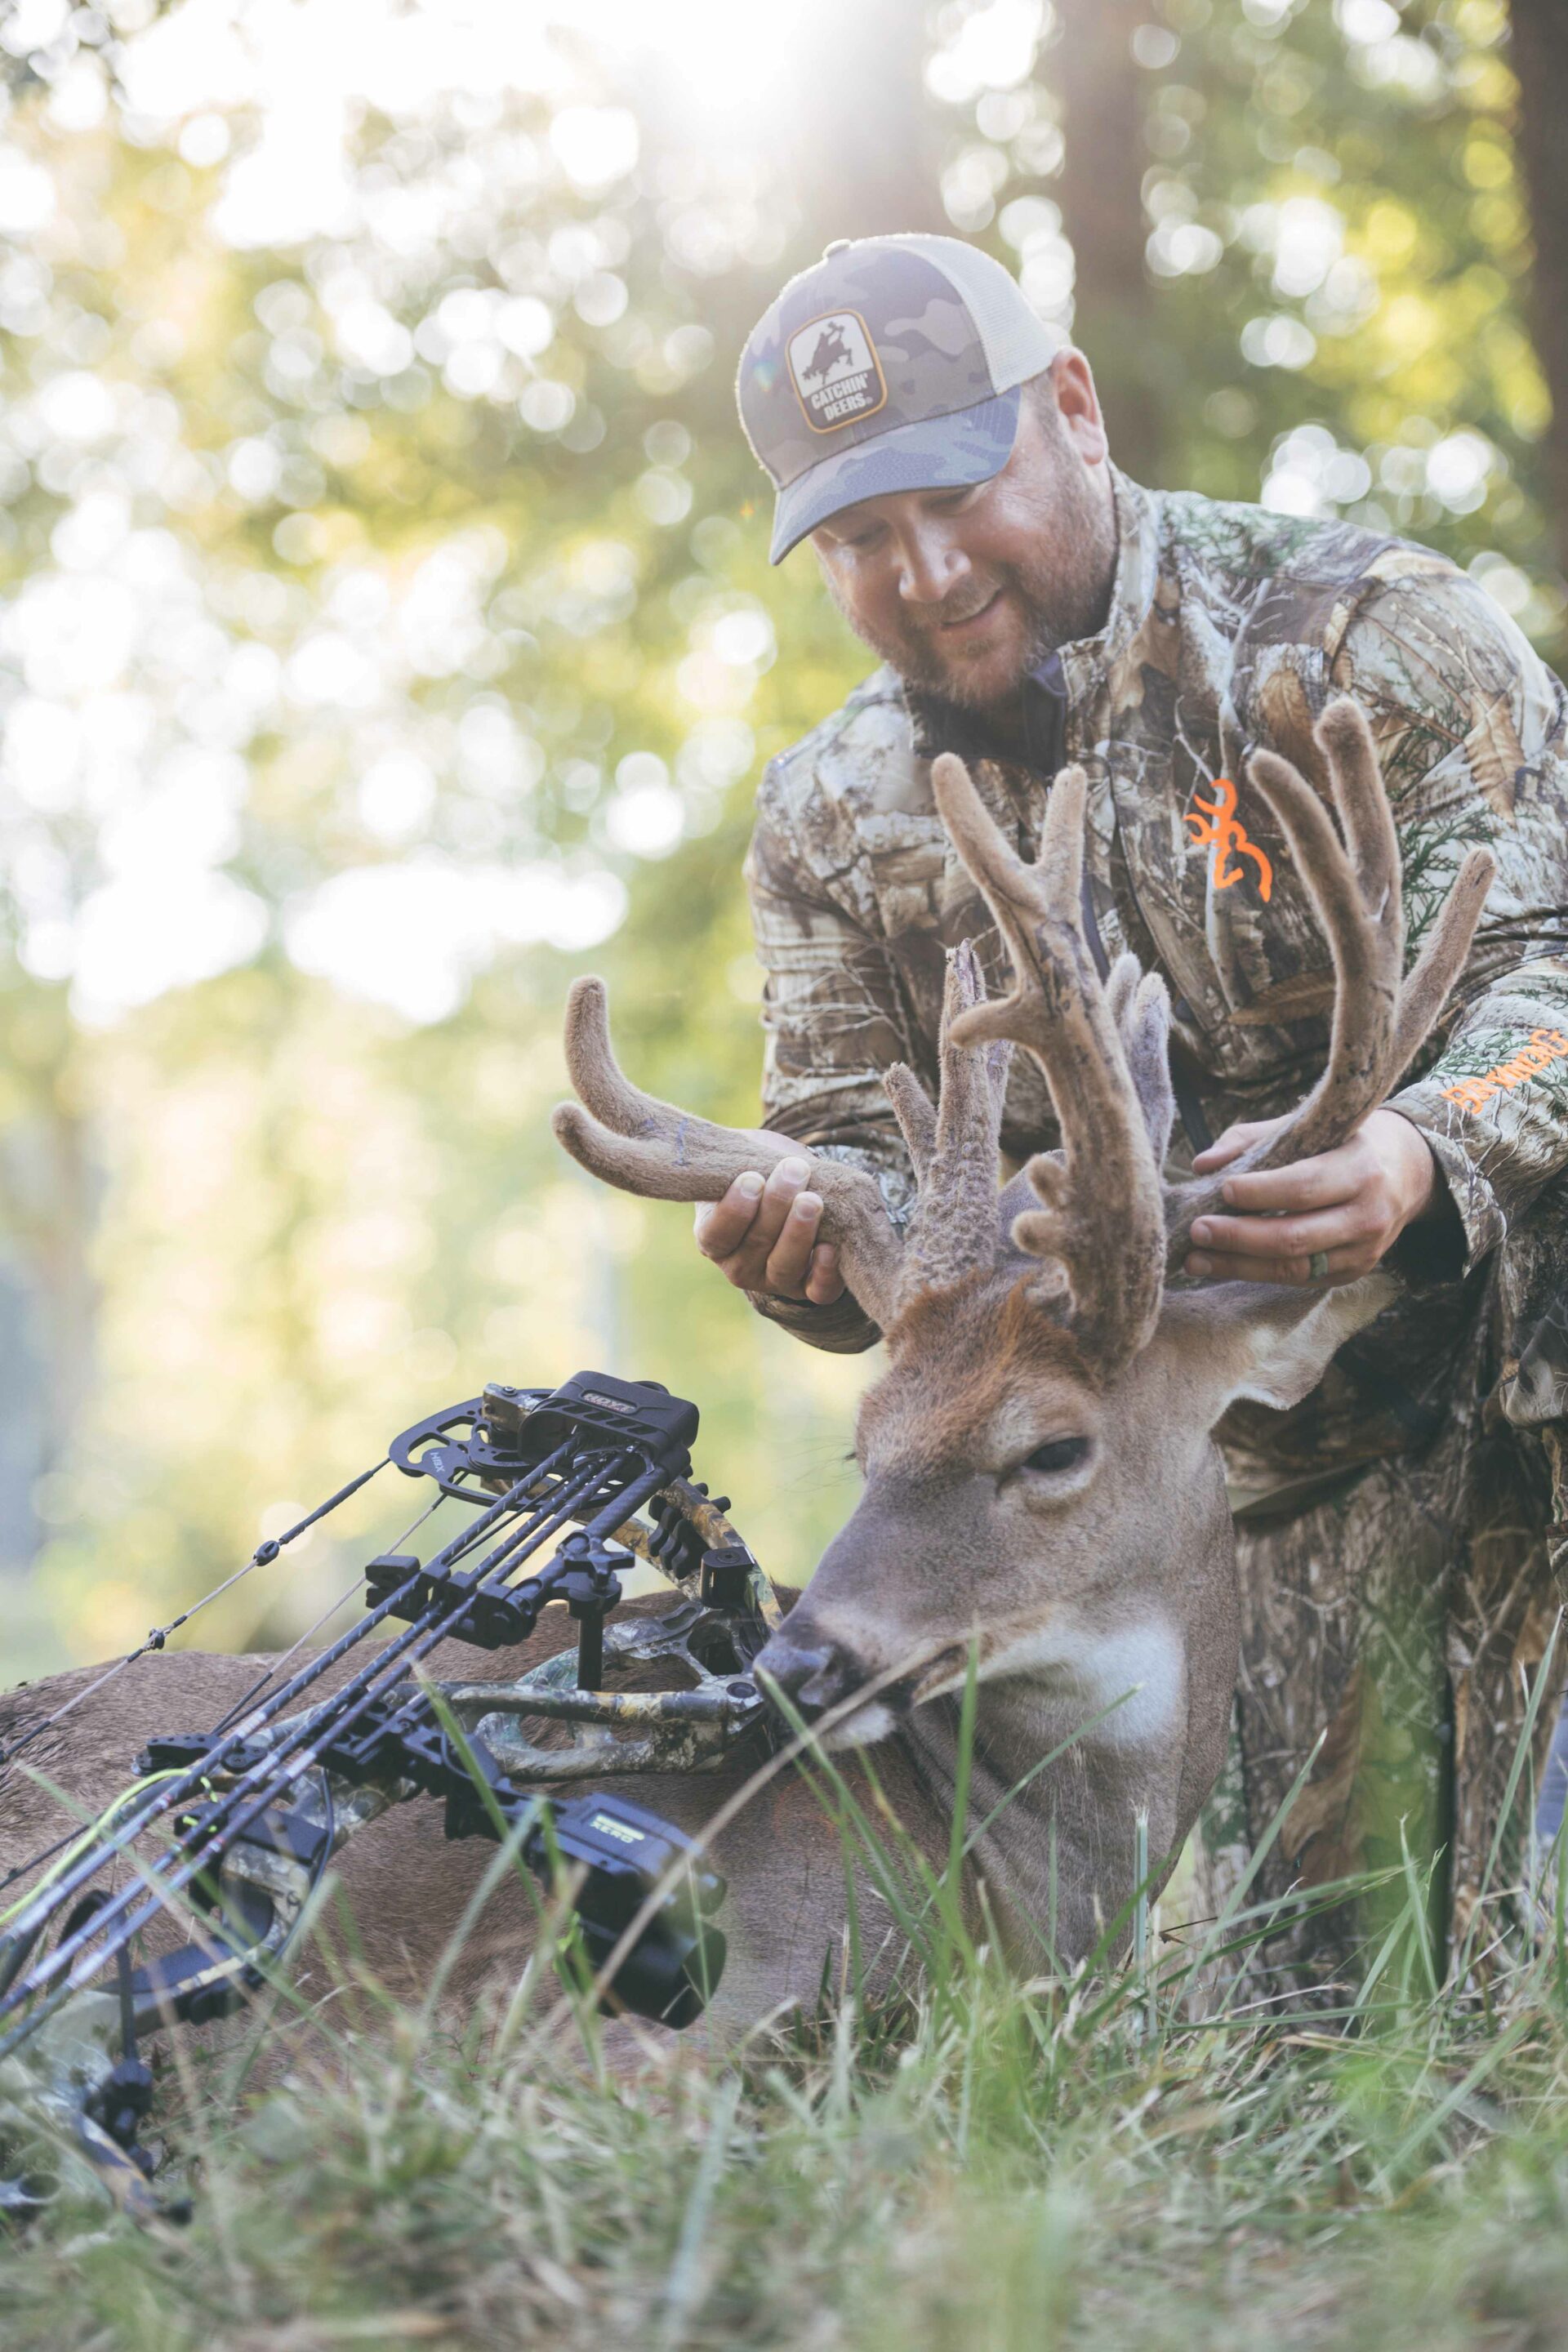
Photo Source: Catchin Deers
Why is field dressing important?
Field dressing is an important process in deer hunting to avoid tainting your meat. The faster you get the carcass open and the entrails out, the better — for a couple reasons. First, field dressing makes big game transport a lot easier. Second, field dressing allows for the meat to cool faster. This can slow bacteria growth and reduce gases and other bodily excretions (like fecal matter and urine) that might spoil your meat.
Plus, field dressing your deer isn’t as overwhelming or intimidating as it might sound. You can learn how to field dress your deer relatively quickly and easily, and it’s one of those things that you’ll continually get better at over time. If you can get your deer field dressing technique down now, you can ensure better tasting meat for a lifetime!
How to field dress your deer
When heading out on your hunting expeditions, you can make field dressing a lot easier (safer and cleaner) by bringing along a few important items: elbow-length gloves to keep your hands clean and to protect you from bacteria, a VERY sharp knife to ensure clean cuts, a headlamp in case you’re working into dusk, bandages in case of injury and a few rags, because you never know what kind of mess you might find yourself in!
Some optional items that might make the job a little easier are: a bone saw for the cutting through the sternum and pelvis (this can make the removal of windpipe and rectum a little easier) and if you’re hunting in a warm climate, ice packs are a great idea to stuff into the propped open chest cavity during transport to help keep the meat temperature out of the danger zone.
We go over the basic steps of field dressing a deer in our HUNTINGsmart! Hunter Safety Course. You can check out the steps in the video below!
Video Source: HUNTINGsmart! Hunter Safety Course
9 tips to ensure field dressing success (and safety)
- Tie some fluorescent tape to trees around you to warn hunters that you’re there.
2. Ensure your deer is moved to a dry, clean spot — no muck!
3. Roll the animal onto the back or side, and always position the head higher than the rump, so it bleeds out cleanly.
4. When making your initial cut, use a sharp knife facing up to avoid cutting intestines, puncturing organs, or getting hair into the cavity.
5. While cutting, use a free hand to push down on organs and prevent puncture.
6. If there is a waste spill when removing the colon, clean with the deer’s darkest blood (not water) to avoid spread of bacteria.
7. To remove the entrails in one single, swift action, ensure to cut the diaphragm all the way to the spine. Taking the time to do this will allow you to remove everything without having to pause to finish cutting.
8. Prop open the chest cavity before and/or while transporting the carcass to encourage the meat to continue to cool.
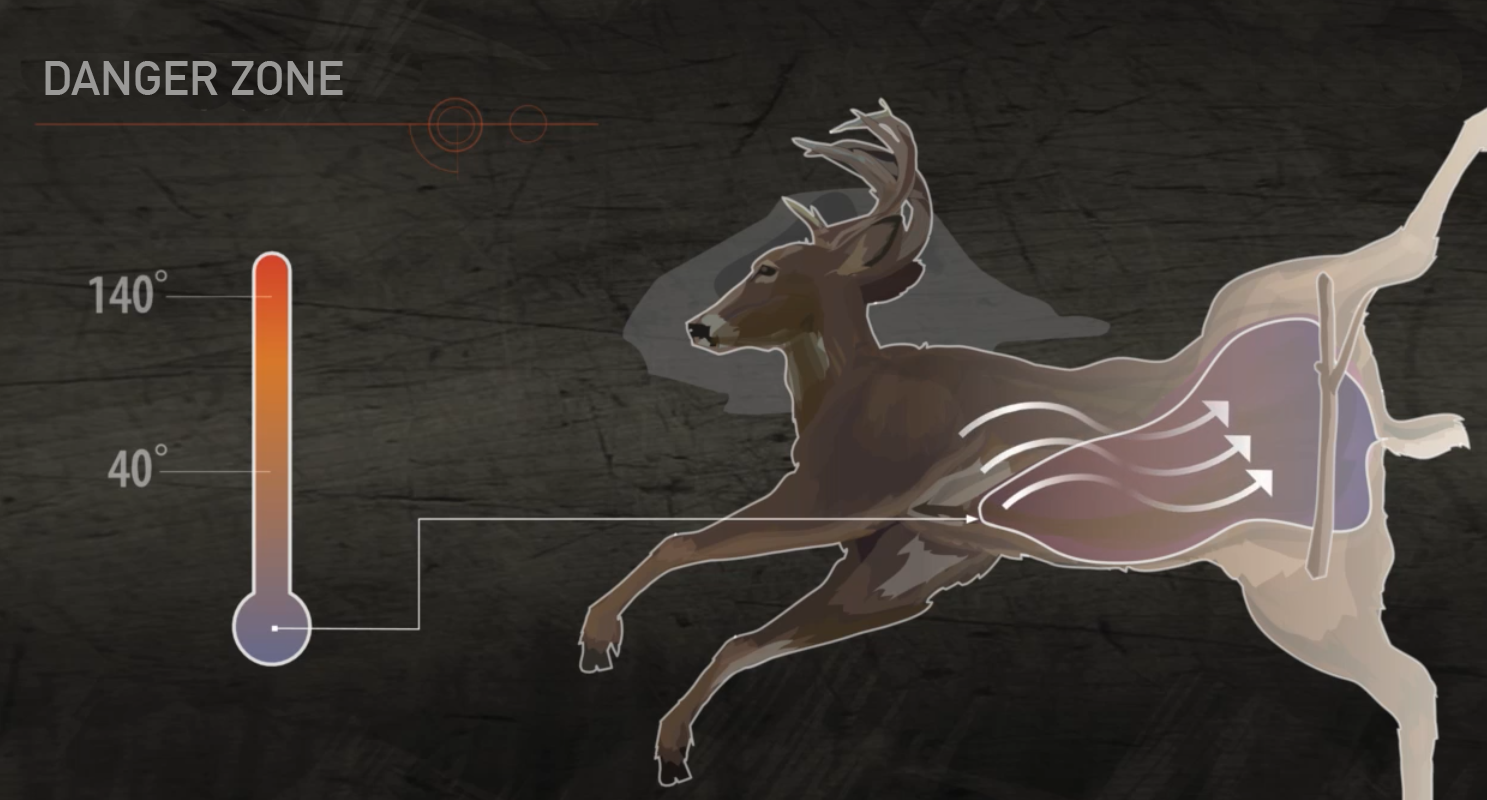
9. The meat will begin to spoil in the danger zone between 40-140 degrees fahrenheit, so be mindful of temperatures. If you hunt in a warmer climate or it’s just a hot day, we suggest bringing along icepacks to stuff into the propped open chest cavity during transport to help cool the carcass and keep the meat out of the danger zone.
Common Mistakes When Field
Dressing your Deer
As mentioned in the introduction of this article, two common mistakes when field dressing your deer happen before you even make your first cut. First, if a deer isn’t dropped fairly instantly it can have a very negative effect on your end product (the meat). The build-up of adrenaline and lactic acid in the animal’s system from running after a marginally placed shot can do some serious damage to your meat. This is why we never push an injured deer.
Secondly, do not dilly-dally after locating your animal. As mentioned above, the faster you can open the carcass the sooner it will begin to cool. Taking time for pictures or transporting your deer before dressing it can lead to tainted meat.
A few other common mistakes you can avoid on your next deer harvest are:
- Cutting with the sharp edge of the blade down (risking an organ puncture).
2. Using a dull knife. This will reduce the speed and efficiency in which you complete the field dressing process.
3. Using a dirty knife. This can spread contaminants and bacteria into the meat.
4. Not coming up with a plan before starting the process. Before starting, survey the carcass. Where was the shot placed? Is there potential for an organ puncture? Being proactive in your approach can help you avoid any major issues and plan for problems before they arise.
5. Cleaning the carcass with dirty water. If you have clean water, it’s a great idea to scrub the inside of your gutted deer before the blood dries. However, the key here is clean water. Using water from a nearby creek can lead to additional bacteria contaminating your meat.
Final thoughts on field dressing your deer
When field dressing a deer, there is a line you have to walk — and you have to walk it carefully. Field dressing requires that you get to it quickly, however, don’t rush through the process either. By taking the time to make clear, clean cuts, you’ll end up with a much better result… and you’ll avoid doing things like puncturing the intestines or making a big mess with the deer entrails.
Like most parts of hunting, practice makes perfect. Once you have the process of field dressing down, you’ll be able to move quickly and efficiently. This will guarantee a better tasting venison as a result!
Learn more about field dressing and all other aspects of how to become a safe, responsible hunter with HUNTINGsmart!, our narrated, engaging and animated course built for hunters just like you.
