Summer is around the corner, and you’re itching to get out on the water to enjoy those stinking hot days that us Canadians dream about all winter. But this year is different. This year you have been scrolling through Instagram and have seen people doing one or maybe even TWO flips on their wakeboard! You think to yourself, “alright I have to try this”. This summer you’re not just getting on the water, you’re getting on a wakeboard.
where to start
Here comes the question, what the heck do I need to start? Well, not too much. Although us Canadians are used to bundling up for most things we do, you’ll definitely be able to shed a few layers for your wakeboarding adventure. First, you are going to need to get your hands on a wakeboard and rope. Maybe your friend has one you can borrow, or maybe you will have to go make the purchase yourself, but it will make your life a lot easier if you have a wakeboard and bindings that fit. Wakeboards are sized to the weight of the rider, and bindings follow shoe sizing. It’s worth taking a look online at some sizing charts before taking the plunge into your first board, but we’ll leave that discussion for the Wakeboarding Gear Guide blog.
safety first
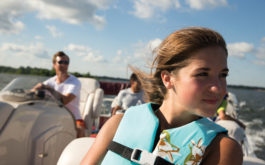
So now you have your wakeboard, bindings and rope, the most important piece comes next. Yes, you will need a boat (or a PWC will work), but that’s not what I am referring to. You need a Coast Guard approved Life Jacket. Safety is the most important part of any towed watersport and having the required safety gear is a must. Make sure your lifejacket is sized correctly, and you’re ready to strap on the board! All you’ll need now is a driver, and spotter.
“Safety is the most important part of any towed watersport and having the required safety gear is a must. “
Know the hand signals
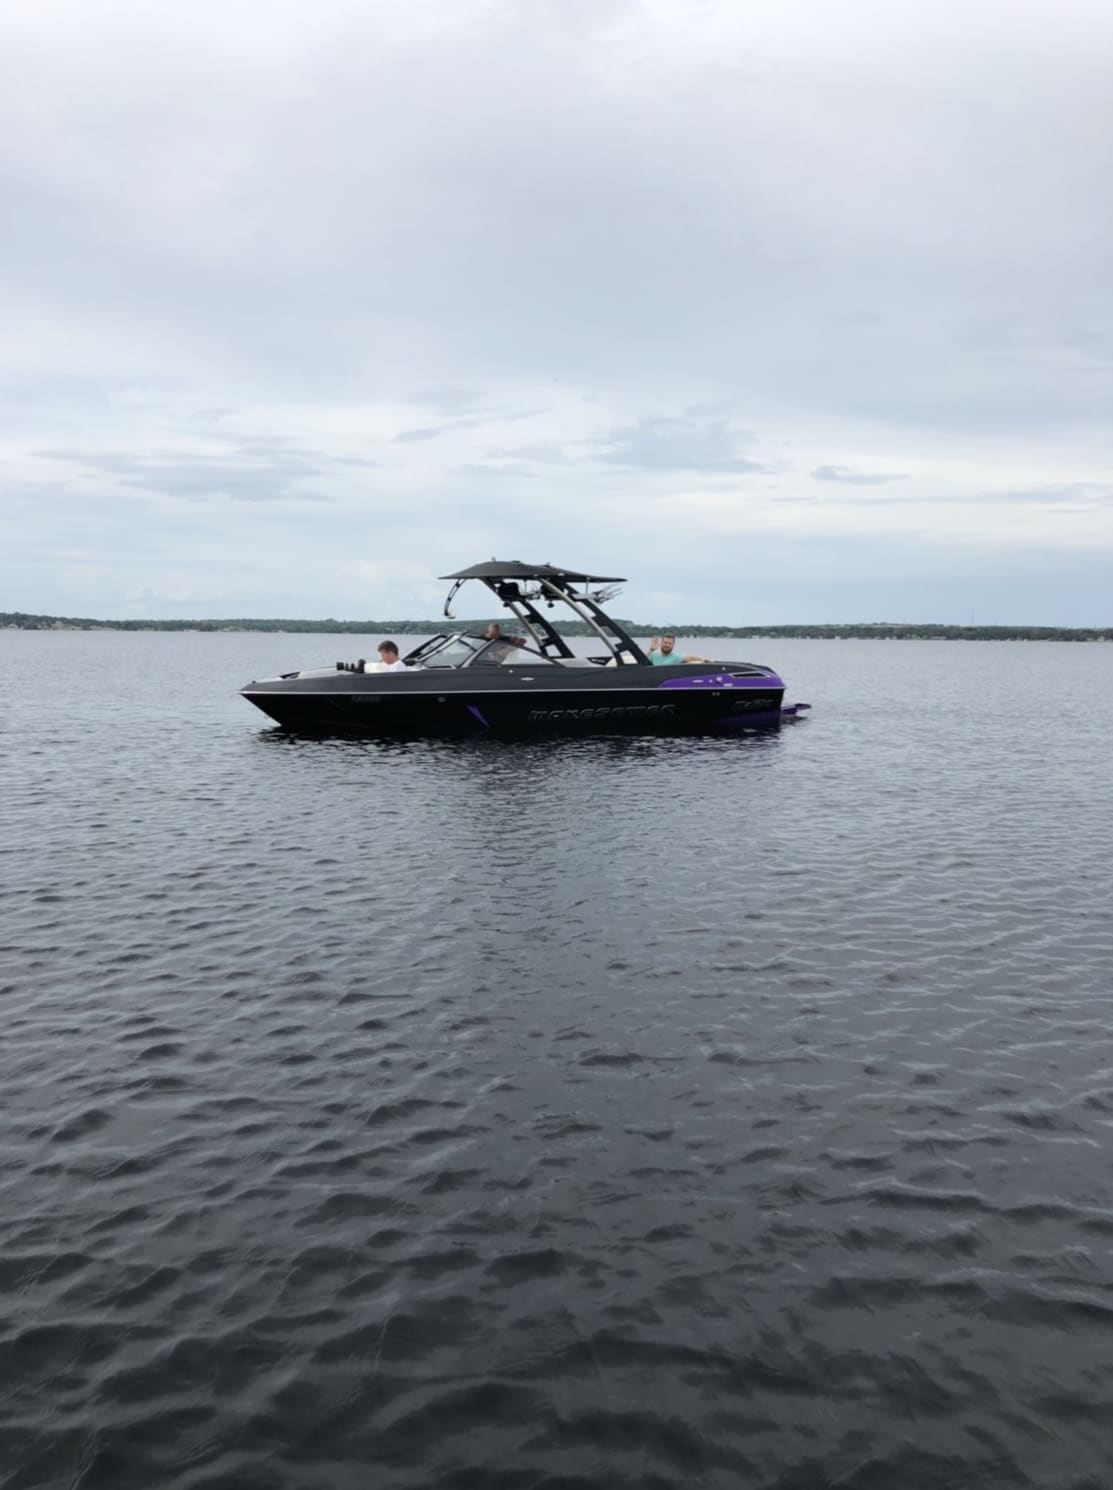
Now you’re on the boat, and you are pumped! Before you jump in the water for your first attempt, there are some important hand signals to know which will allow you to communicate with your spotter in the boat. A thumbs-up means you are telling the boat to speed up. Thumbs down means slow the boat down. A hand signal with a flat hand, waving left to right in front of your neck, means stop the engine. And finally, if you happen to take a fall, it is helpful to tap your head with a flat hand to signal to the boat that you are OK.
You’ll want to start with a rope length of about 60ft. This is a comfortable area so that the boat can go slow enough that if you fall it shouldn’t hurt, and the wake is still clean enough that you can cross side to side once you’ve mastered getting up.
Get your Official North American
Boating License
The Official NASBLA and Transport Canada Boating Course, Test & License.
Get your Official North American
Boating License
The Official NASBLA and Transport Canada Boating
Course, Test & License.
getting up
Alright, let’s get in the water. You’re now going to float on your back, with your board out in front of you. Since you got yourself a lifejacket that fits just right, your head will have no trouble staying afloat on top of the water, and you can take a minute to relax. Once you have the rope handle in your hand, you want to center the rope between your bindings in the middle of the board. Allow the boat driver to put the boat in gear, pulling the rope tight. You’re going to keep your arms straight, knees bent to your chest, and stay in this position until the boat pulls you up. Don’t try to stand up too early! Boats are very powerful, let them do the work and pull you out of the water.
While this whole process is happening, make sure to keep your eyes up, looking towards the boat. Once you’re pulled up out of the water, your board will naturally turn to your dominant foot forward. If it doesn’t, choose which foot you would like to try riding with forwards, and see how it feels. If it doesn’t feel natural, next time you get up, switch to the other.
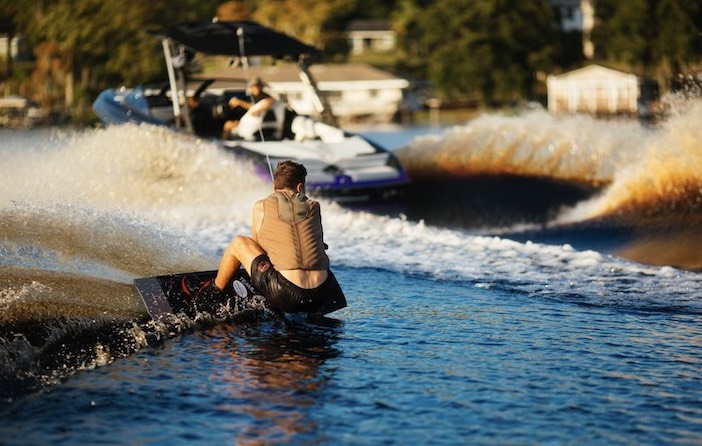
Now that you’re up on the water, you want to focus on keeping a stable body position. Knees bent, hips forward, chest up, and eyes on the boat. Keep that handle in close to your forward hip. In this position, you are ready for any waves or bumps you may be faced with. Since you’re a Rockstar and already feel comfortable, try leaning the board onto an edge (on your heels or toes), and leaning away from the boat.
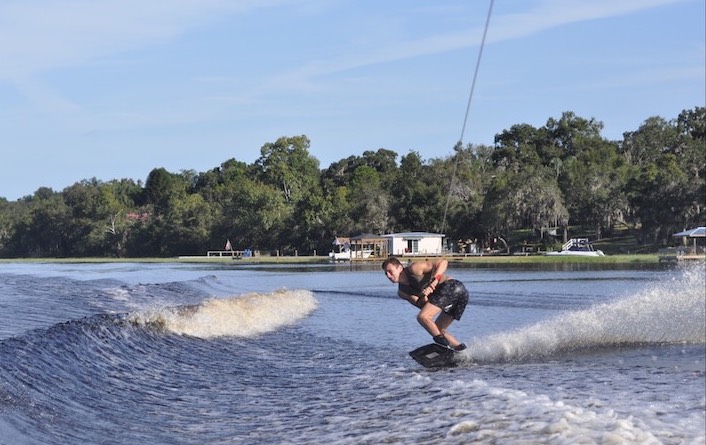
This will allow you to go left, or right, crossing the wakes of the boat. Take some time getting comfortable on the board and maybe even trying to ride with your opposite foot forward.
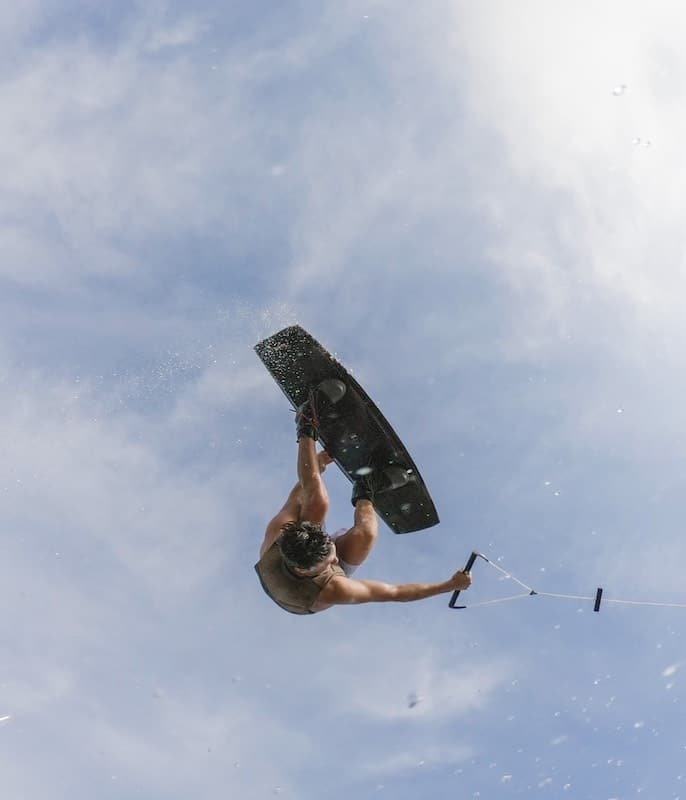
If you don’t get up your first few tries on the wakeboard, don’t get discouraged. There is a learning curve and you’re bound to get it soon. Hey, we may even be scrolling through Instagram seeing you doing double flips in a few years! Most importantly, don’t forget to smile and have fun on the water, that is what it is all about. Stay tuned for future posts, getting you ready to take your wakeboarding to the next step.
